My first Panel view
For our very first Panel view, we will query a public API and display the results in a nice card layout.
For the purposes of this recipe, we assume you have read the Panel plugin setup guide on how to get started with our Panel plugin bundler kirbyup.
You can install the Pluginkit as a basis or create the file structure we need manually, that's up to you. Also, it doesn't matter if you use the Plainkit or the Starterkit as a starting point.
Let's start by creating a new folder in the plugins folder, which we will call moviereviews. Inside this folder, we first create a package.json file with the contents copied from the Pluginkit example mentioned above.
{
  "scripts": {
    "dev": "npx -y kirbyup src/index.js --watch",
    "build": "npx -y kirbyup src/index.js"
  }
}
This will take care of compiling our source files into an index.js file in the root of our moviereviews plugin folder.
Custom API route
Inside the moviereviews folder, we create an index.php with the Kirby plugin wrapper. And inside this wrapper, we create a custom API route that serves as our data provider. It requests the data from the selected API with a Remote::get() request and returns it, so that we can later use it in our component.
For this example, we reuse the NYT Movie Reviews API we already used in the Virtual Pages guide. To follow this example, create an account and an example app by following their instructions. Then get your API key and add it to the code below.
<?php

Kirby::plugin('getkirby/moviereviews', [
    'api' => [
        'routes' => [
            [
                'pattern' => 'moviereviews',
                'action'  => function () {
                    $reviews = [];
                    $apikey  = 'your api key here';
                    $request = Remote::get('https://api.nytimes.com/svc/movies/v2/reviews/picks.json?api-key=' . $apikey);
                    if ($request->code() === 200) {
                      $reviews = $request->json(false)->results;
                    }
                    return $reviews;
                }
            ]
        ]
    ]
]);
You can test if the route returns the desired data by opening the API URL in your browser. Make sure to login to the panel first and set a custom CSRF token for the API in your config.
The custom CSRF should only be set for debugging and removed afterwards unless it is required for the specific use-case.
return [
    'api' => [
        'csrf' => 'test',
    ]
];
You can now access the following API URL by using the temporary CSRF. The pretty option helps to render the JSON output in a human-readable way.
http://localhost/api/moviereviews?csrf=test&pretty=trueThis will give you a nice overview of the data structure.
Create the view component
Next, we create a new folder called /src inside our moviereviews folder. Inside the src folder, we create an index.js file.
import View from "./components/View.vue";

panel.plugin("getkirby/moviereviews", {
  views: {
    moviereviews: {
      component: View,
      icon: "video",
      label: "Movie reviews"
    }
  }
});
Inside this file, we register the new custom moviereviews view component called View. The view itself will be defined in the components subfolder and called View.vue.
Inside View.vue, we reuse the Kirby k-view and k-header components for our basic view setup.
<template>
  <k-view class="k-moviereviews-view">
    <k-header>Movie reviews</k-header>
  </k-view>
</template>

<script>
export default {

};
</script>
Compile and check
Now let's run
npm run devin our plugin folder, and kirbyup will compile an index.js in the moviereviews folder.
If all went well, we will now see a new menu entry in the Panel dropdown navigation, and when we click on it, we can visit the newly created view that's still empty at this time.
A component for our data
But how do we get our data in? To achieve this, we create a new Vue component, let's call it reviews. This new component will show each data item from our data provider in a cards layout, another component Kirby provides for us. We also add an empty k-card component.
<template>
  <div class="k-reviews">
    <k-cards data-size="medium">
      <k-card />
    </k-cards>
  </div>
</template>

<script>
export default {

}
</script>
Register the new component
When we visit our Panel view, nothing has changed yet. That's because we haven't registered the new component yet. Let's do that now.
In our View component, we do three things:
- We import the `Reviews.vue" component
- In our
exportobject, we register the component - We add the new
<reviews/>component to the template below the header
<template>
<k-view class="k-moviereview-view">
<k-header>Moview reviews</k-header>
<reviews />
</k-view>
</template>
<script>
import Reviews from "./Reviews.vue";
export default {
components: {
Reviews
}
};
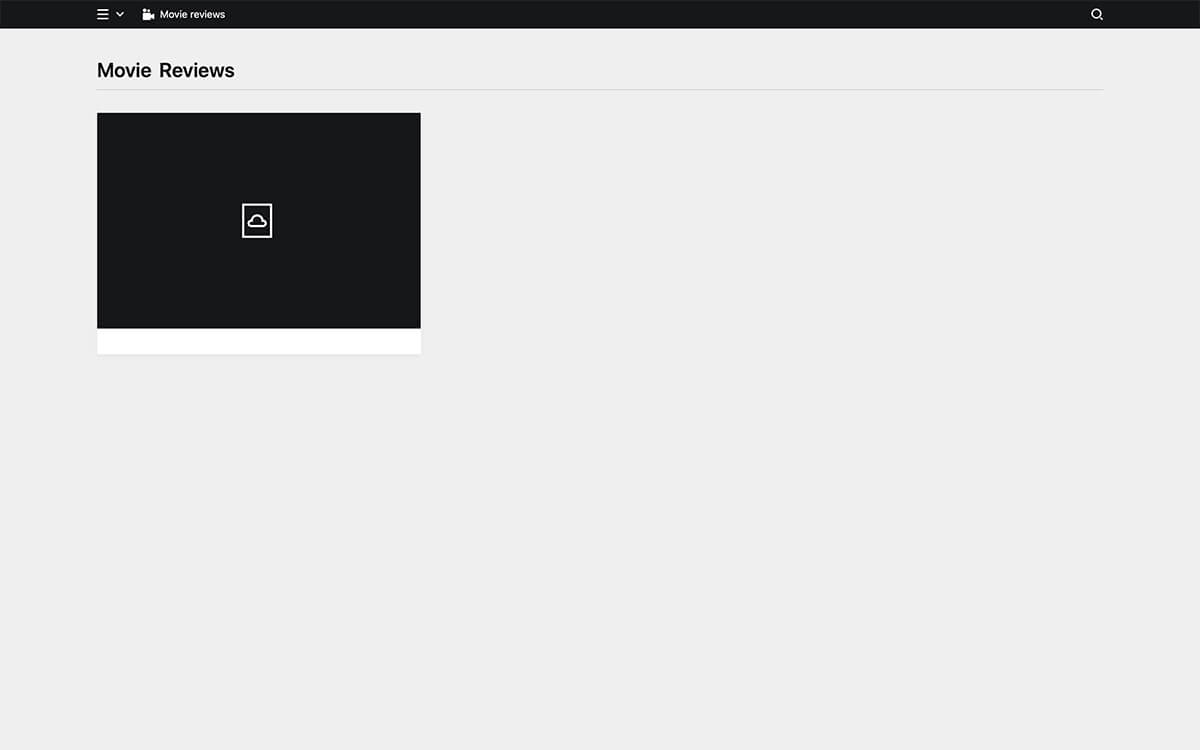
</script>If we now return to the Panel, our view has changed and will show the cards component with a single empty card in it.
Connecting the data
We are almost there. Here is the final Reviews.vue component which we will explain in more detail in a minute.
<template>
  <div class="k-reviews">
    <k-cards data-size="medium">
      <k-card
        v-for="review in reviews"
        :key="review.display_title"
        :link="review.link.url"
        :info="review.byline"
        :text="review.summary_short"
        :image="{
          ratio: '3/2',
          cover: true,
          back: 'pattern',
          url: review.multimedia.src
        }"
        target="_blank"
      />
    </k-cards>
  </div>
</template>

<script>
export default {
  data() {
    return {
      reviews: [],
    };
  },
  created() {
    this.load();
  },
  methods: {
    load() {
      this.$api
        .get("moviereviews")
        .then(reviews => {
          this.reviews = reviews;
        });
    }
  }
}
</script>
Let's first look at the script part:
<script>
export default {
  data() {
    return {
      reviews: [],
    };
  },
  created() {
    this.load();
  },
  methods: {
    load() {
      this.$api
        .get("moviereviews")
        .then(reviews => {
          this.reviews = reviews;
        });
    }
  }
}
</script>
Within the export object, we have to define the data our component returns as a function.
data() {
  return {
    reviews: [],
  };
},
Once the Vue component is created, we call the load() method.
created() {
  this.load();
},
The load() method calls the moviereviews route from the API, and then assigns the result to this.reviews.
methods: {
  load() {
    this.$api
      .get("moviereviews")
      .then(reviews => {
        this.reviews = reviews;
    });
  }
}
We can now loop through the data and create a card for each review:
<k-cards data-size="medium">
<k-card
v-for="review in reviews"
:key="review.display_title"
:link="review.link.url"
:info="review.byline"
:text="review.summary_short"
:image="{
ratio: '3/2',
cover: true,
back: 'pattern',
url: review.multimedia.src
}"
target="_blank"
/>
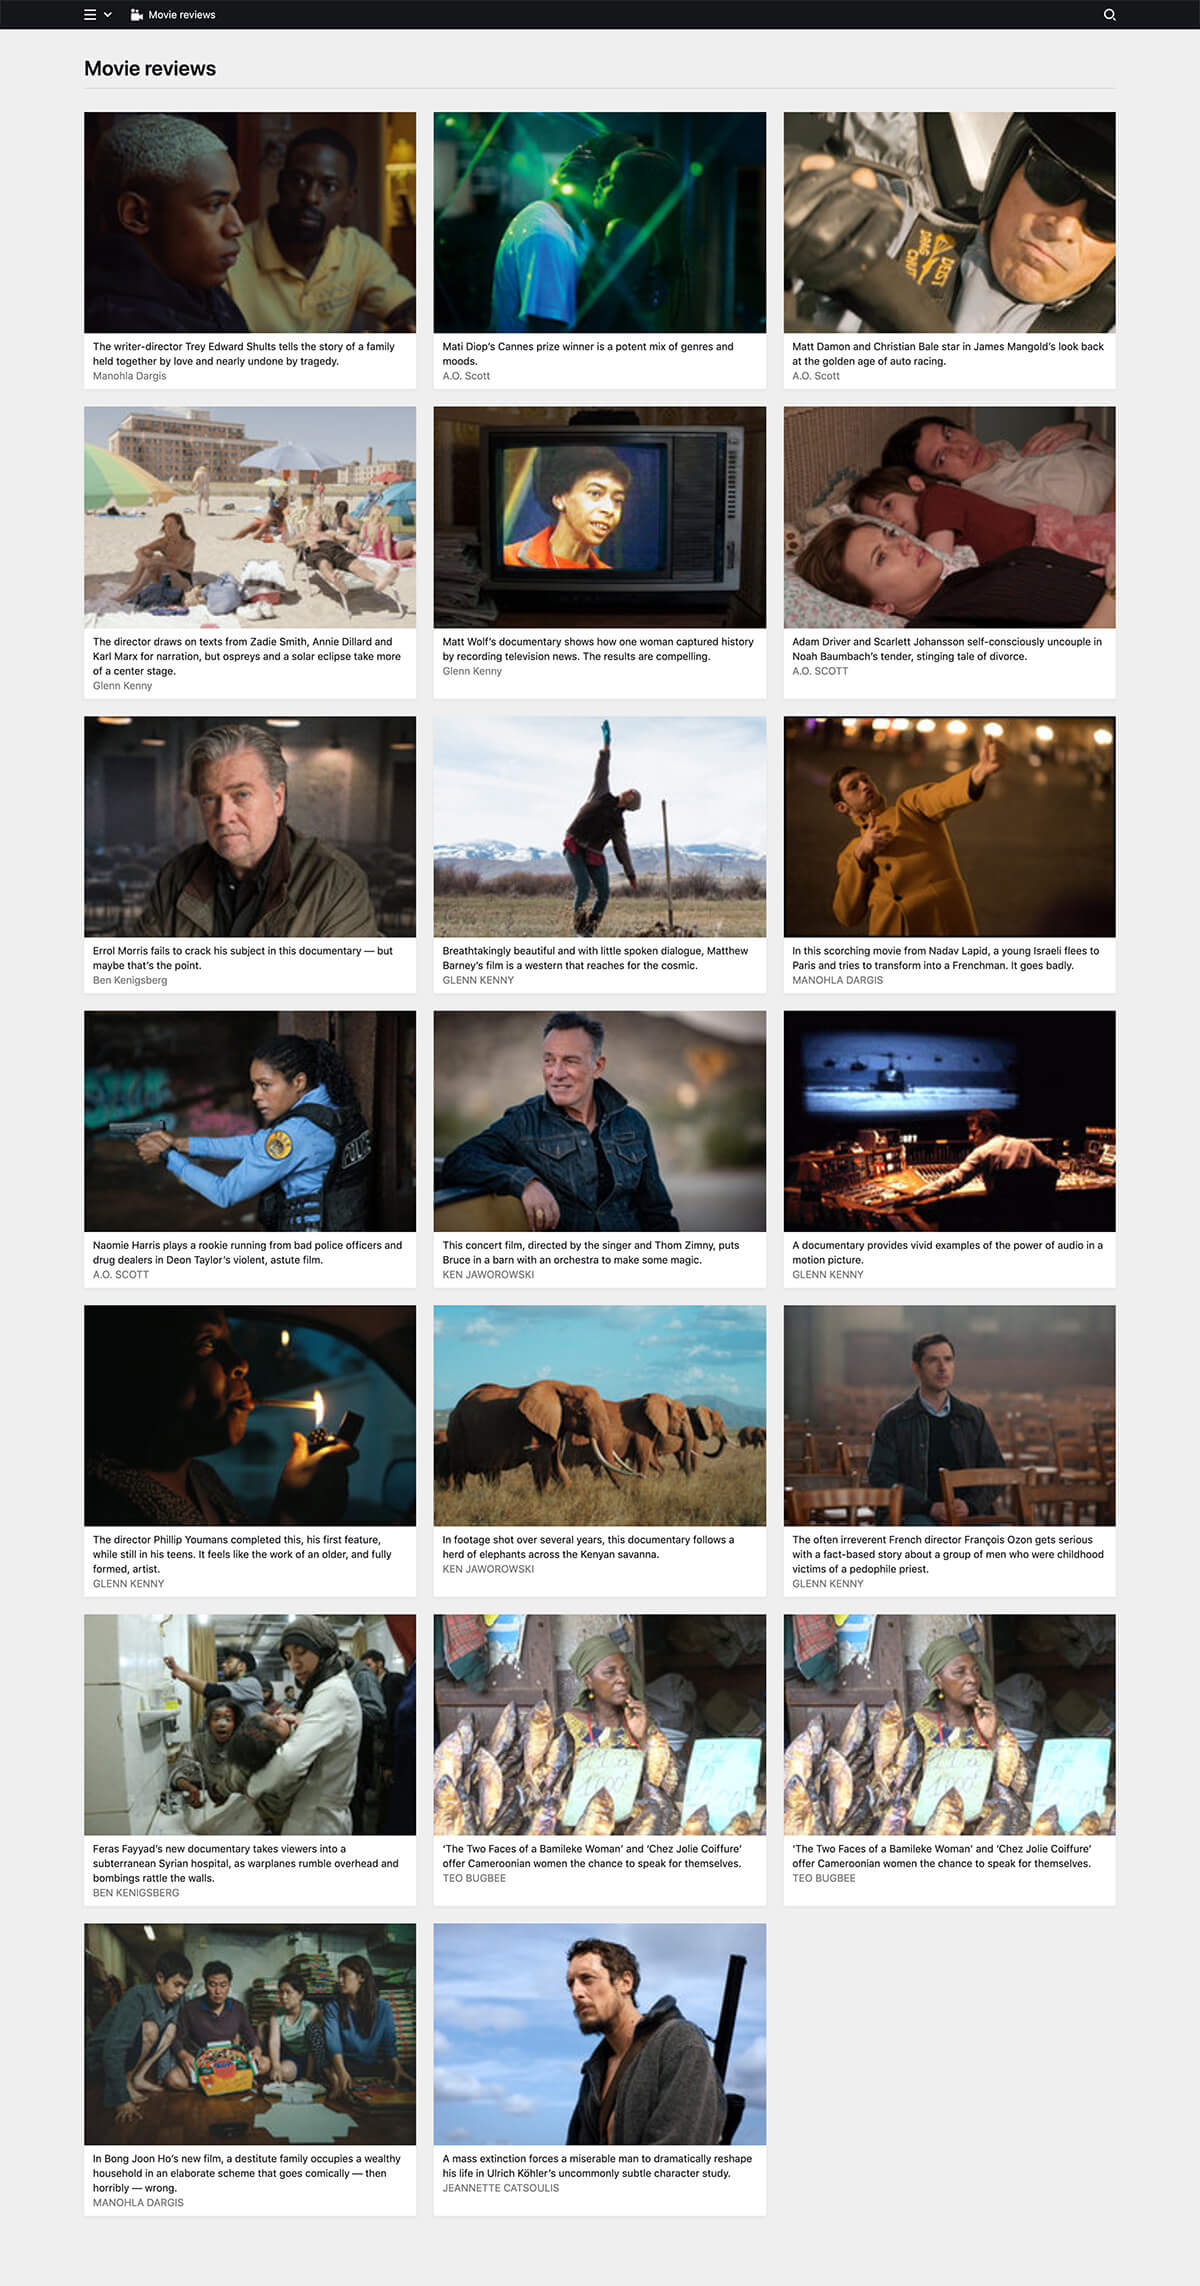
</k-cards>Here we fill the props of the card component with life. We loop through each review (v-for="review in reviews") and assign the data items to the info, text and image props. We also add a link to the original review.
Building your plugin
Once you are happy with your plugin, you can create minified and optimized versions of the index.js and index.css with …
npm run buildFinal folder structure
moviereviews
- index.js
- package.json
src
- index.js
components
- View.vue
- Reviews.vue
Where to go from here
To get more familiar with how this all plays together, play around a bit. Try to get other data in, from a database, a .csv file, another API or try to fetch some data from your Kirby installation. Adjust the data provider route as needed. Change the layout to a table. Try to add events…