Load more with Ajax
Requirements
- A fresh Kirby Starterkit as our basis
- Familiarity with the Kirby API, templates and controllers is useful
Intro
When creating a portfolio, blog or image gallery webpage, we often want to show a limited number of projects, articles or images at first load, but give visitors the possibility to load more with a button. In this recipe, we will go through the steps needed to implement such a solution.
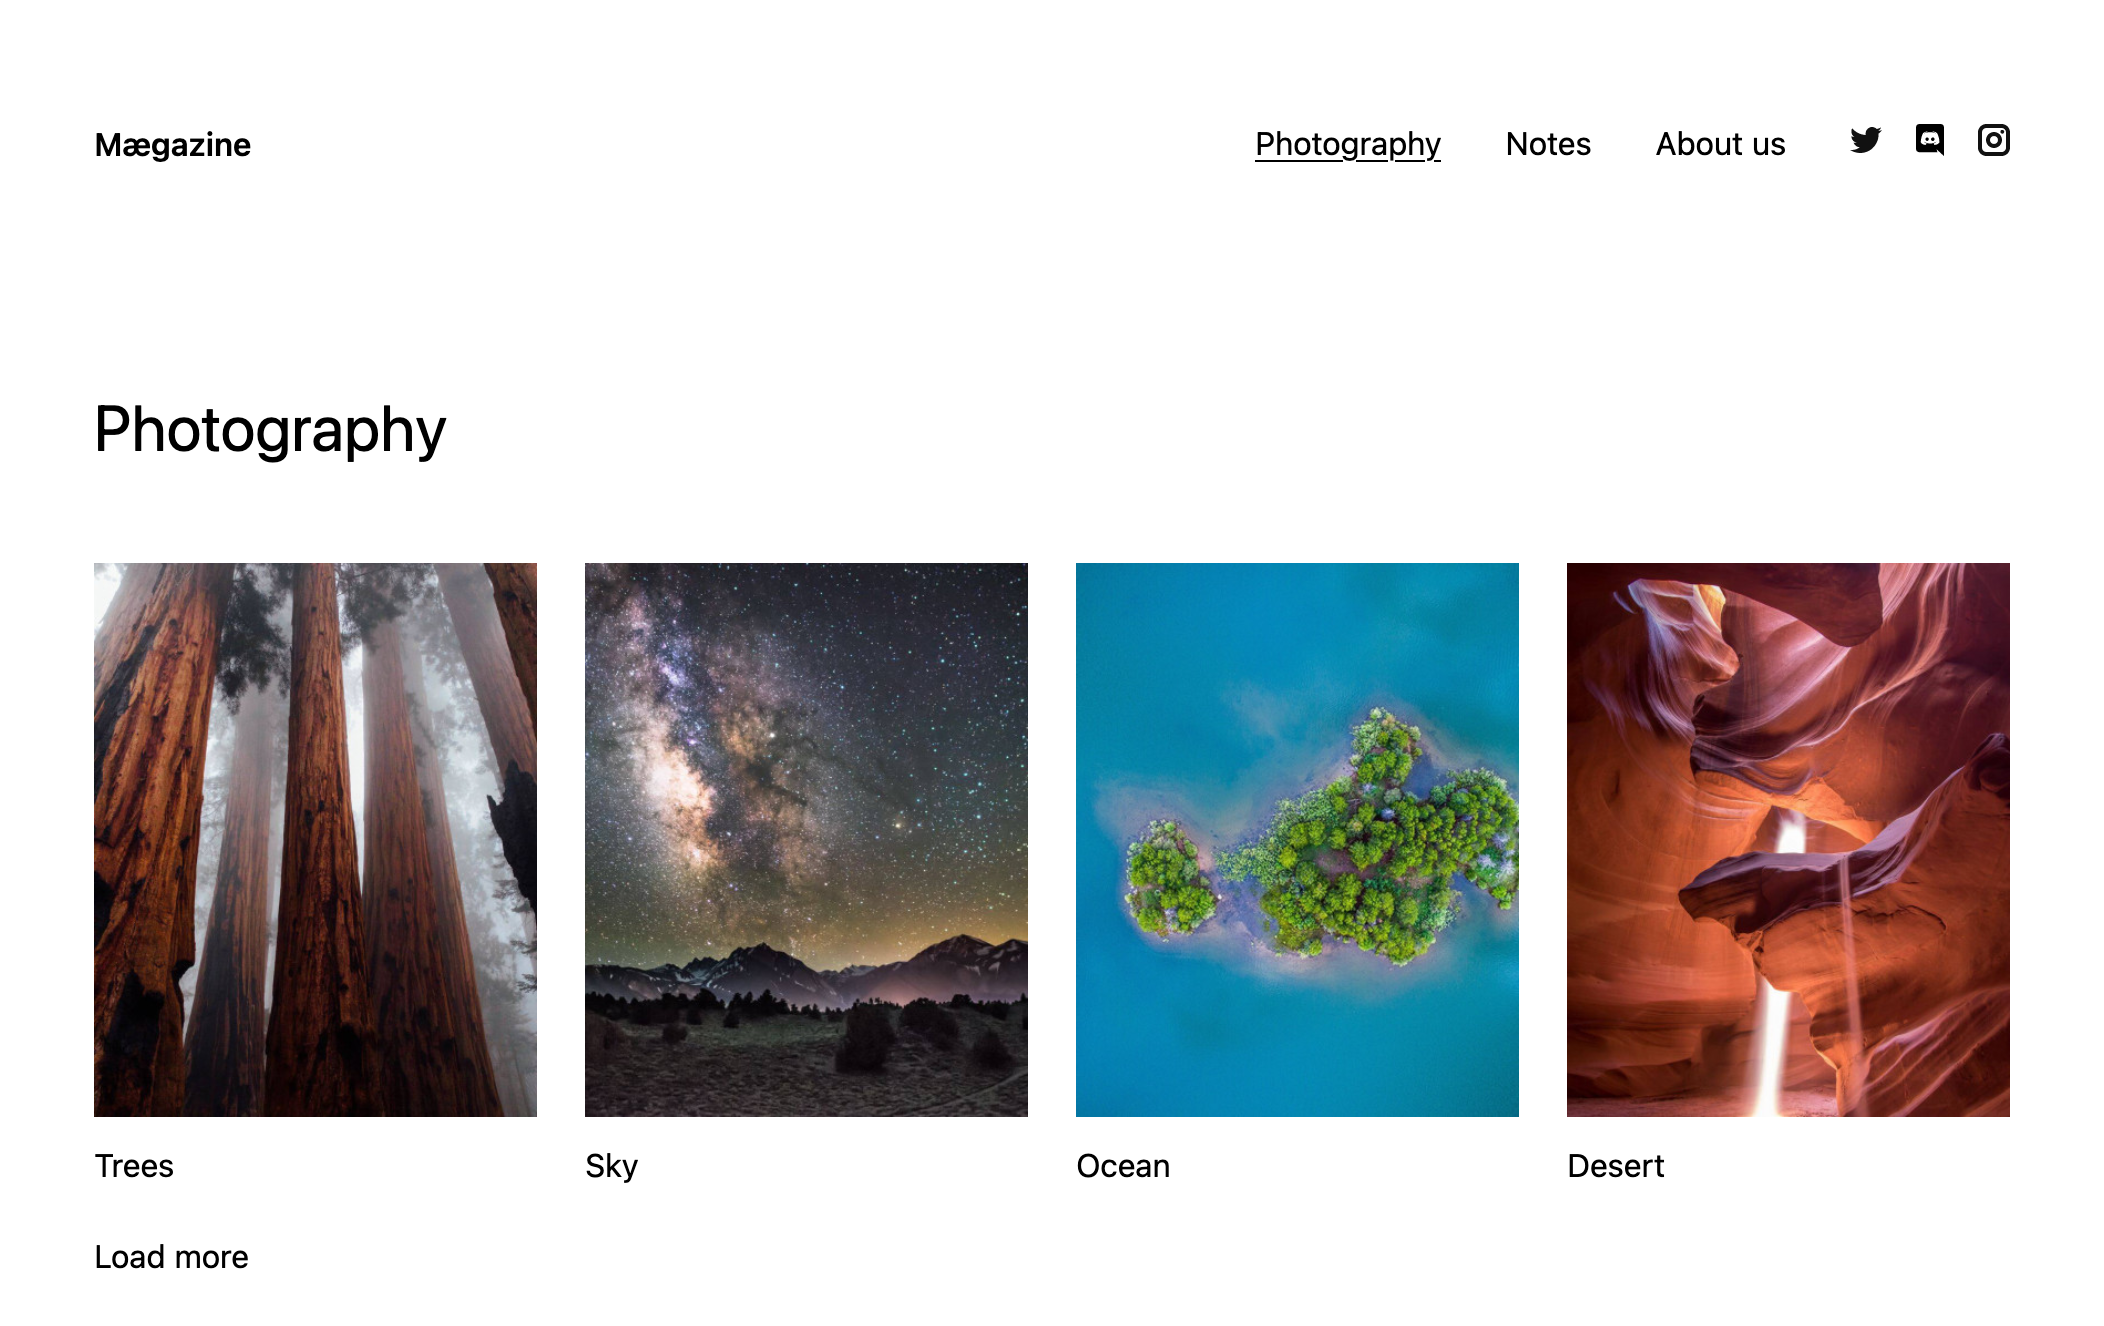
We will base this recipe off the photography page in Kirby's Starterkit which lists a number of subpages with an image and a title.
Kirby's pagination class will help us break up the projects into digestible chunks and make the logic pretty straightforward.
HTML Template
The photography page uses the photography.php template, which looks like this when untouched:
<?php snippet('header') ?>
<?php snippet('intro') ?>

<ul class="grid" style="--gutter: 1.5rem">
  <?php foreach ($page->children()->listed() as $project): ?>
  <li class="column" style="--columns: 3">
    <a href="<?= $project->url() ?>">
      <figure>
        <span class="img" style="--w:4;--h:5">
          <?= ($cover = $project->cover()) ? $cover->crop(400, 500) : null ?>
        </span>
        <figcaption class="img-caption">
          <?= $project->title()->html() ?>
        </figcaption>
      </figure>
    </a>
  </li>
  <?php endforeach ?>
</ul>

<?php snippet('footer') ?>
As a first step, let's move the <li> element from the template into a separate snippet called project.php…
<li class="column" style="--columns: 3">
    <a href="<?= $project->url() ?>">
      <figure>
        <span class="img" style="--w:4;--h:5">
          <?= ($cover = $project->cover()) ? $cover->crop(400, 500) : null ?>
        </span>
        <figcaption class="img-caption">
          <?= $project->title()->html() ?>
        </figcaption>
      </figure>
    </a>
  </li>
… and replace this element with the newly created snippet in the template:
<?php snippet('header') ?>
<?php snippet('intro') ?>

<ul class="grid" style="--gutter: 1.5rem">
  <?php foreach ($page->children()->listed() as $project): ?>
    <?php snippet('project', ['project' => 'project']) ?>
  <?php endforeach ?>
</ul>

<?php snippet('footer') ?>
We do this so that we can reuse this snippet again later.
Next, we add a load-more button after the project list, and replace $page->children()->listed() with $projects. We will define this variable in the next step in a controller.
<?php snippet('header') ?>
<?php snippet('intro') ?>

<ul class="grid" style="--gutter: 1.5rem">
  <?php foreach ($projects as $project): ?>
    <?php snippet('project', ['project' => $project]) ?>
  <?php endforeach ?>
</ul>
<button class="load-more" accesskey="m">Load more</button>
<?php snippet('footer') ?>
To allow triggering the button via keyboard, the button gets a global accesskey attribute with the value of m, so that depending on the used browser and operating system, users can trigger the button with a key combination + m.
HTML controller
Now, let's put the logic we need into a new controller. Create a new photography.php controller in site/controllers with the following code:
<?php

return function ($page) {
  $limit    = 4;
  $projects = $page->children()->listed()->paginate($limit);

  return [
      'limit'      => $limit,
      'projects'   => $projects,
      'pagination' => $projects->pagination(),
    ];
};
Here we define the $projects variable and paginate the pages collection into chunks of 4 as defined in the $limit variable. You can change the chunk size as needed, we use 4 here because we only have a limited set of data.
If we visit the page in the browser at this point, we will see four projects and our super fancy load-more button. However, as much as you might click on the button, nothing will happen yet.
JSON controller
To implement the logic for the load-more functionality, we create the controller for the JSON content representation.
This content representation will be available at the url localhost/photography.json and is the URL we will use in the JavaScript in the next step.
<?php

return function ($page) {

  $limit      = 4;
  $projects   = $page->children()->listed()->paginate($limit);
  $pagination = $projects->pagination();
  $more       = $pagination->hasNextPage();

  return [
      'projects' => $projects,
      'more'     => $more,
      'html'     => '',
      'json'     => [],
    ];
};
The $more variable is a boolean and checks if the pagination object still has a next page.
Additionally, we initialize the $html and $json variables, which will be assigned their values in the photography.json.php template in the next step.
JSON template
We are slowly getting there… Our JSON representation controller now needs a corresponding template that returns the JSON encoded data:
<?php

foreach($projects as $project) {

  $html .= snippet('project', ['project' => $project], true);

}
$json['html'] = $html;
$json['more'] = $more;

echo json_encode($json);
Again we loop through the projects as before in the HTML template and call the same snippet. This time, we store everything in the $html variable, which we add to the $json array together with the $more variable defined in the controller. Finally, we encode the array so that the template returns the data in JSON format.
If all went well and you open localhost/photography.json in your browser, you will see the generated JSON data.
HTML template, part 2
Before we can get to our last missing piece, the JavaScript, we have to modify the ul element in the template a little bit. We add the class name projects and the data-page attribute, so that we can fetch the number of the next pagination page in our JS.
<?php snippet('header') ?>
<?php snippet('intro') ?>

<ul class="grid projects"  data-page="<?= $pagination->nextPage() ?>" style="--gutter: 1.5rem">
  <?php foreach ($projects as $project): ?>
    <?php snippet('project', ['project' => $project]) ?>
  <?php endforeach ?>
</ul>
<button class="load-more" accesskey="m">Load more</button>
<?php snippet('footer') ?>
Javascript
Finally, our last step. Add the following script in assets/js/templates/photography.js. By adding this script to this location, we make sure that it is only loaded for the photography.php template. And because the footer already has the @auto parameter to auto-load all template specific JS files, we don't have to require it specifically.
If you put the script file into another location, make sure to load it in the footer.
const element = document.querySelector('.projects');
const button  = document.querySelector('.load-more');
let page      = parseInt(element.getAttribute('data-page'));

const fetchProjects = async () => {
  let url = `${window.location.href}.json/page:${page}`;
  try {
    const response       = await fetch(url);
    const { html, more } = await response.json();
    button.hidden        = !more;
    element.innerHTML    += html;
    page++;
  } catch (error) {
    console.log('Fetch error: ', error);
  }
}

button.addEventListener('click', fetchProjects);
First we define a set of variables that we need for fetching the projects later on:
// the container `ul` to which we will later append the other chunks of projects
const element = document.querySelector('.projects');
// the load-more button
const button  = document.querySelector('.load-more');
// the next page from the data attribute as explained in the last step
const page    = parseInt(element.getAttribute('data-limit'));
With
button.addEventListener('click', fetchProjects);we add an event listener to the button which calls the closure (anonymous function) stored in the fetchProjects variable.
Inside the closure, we make a fetch request to the JSON representation (current URL suffixed with .json plus the pagination page), and on success, we add the elements to the DOM and increment the page counter by one.
When there are no more pages to fetch, we hide the button:
button.hidden = !data.more;When JavaScript is disabled…
But what if JavaScript is disabled? Then our fancy load-more button is of no use anymore. To make our content accessible for users when JavaScript is disabled, we need a basic fallback solution that always works, and the load-more button provides progressive enhancement for supporting browsers.
Thanks to the pagination object, we can add such a fallback with a few lines of code.
Check if JavaScript is disabled
In the header.php snippet, let's add a no-js class on the html element:
<html lang="en" class="no-js">In the JS file we created above, we add a onliner to replace this class with a js class name instead.
document.documentElement.classList.replace('no-js', 'js');In the following, we can now use this class to conditionally show either the load-more button or a standard pagination navigation.
Pagination controls
Below the load-more button in the photography.php template, we add the pagination controls:
<?php if ($pagination->hasPages()): ?>
  <nav class="project-pagination grid">

    <?php if ($pagination->hasPrevPage()): ?>
    <a class="column" href="<?= $pagination->prevPageURL() ?>" style="<?= $pagination->hasNextPage() ? '--columns: 6' : '--columns: 12' ?>">
    ‹ previous projects page
    </a>
    <?php endif ?>

    <?php if ($pagination->hasNextPage()): ?>
    <a class="column next" href="<?= $pagination->nextPageURL() ?>" style="<?= $pagination->hasPrevPage() ? '--columns: 6' : '--columns: 12' ?>">
      next projects page  ›
    </a>
    <?php endif ?>

  </nav>
<?php endif ?>
At this point, if you visit the photography page in the browser, you can already use this navigation to navigate between the pagination pages. Almost done!
However, we don't want two different types of navigation at the same time. So let's change this with some CSS.
Hide controls conditionally
Let's add a new stylesheet in /assets/css/templates and name it photography.css so that it is loaded automatically via the @auto parameter used for loading template specific stylesheets in the header.php snippet.
.js .project-pagination {
  display: none;
}

.no-js .load-more {
  display: none;
}

.next {
  text-align: right;
}
If JavaScript is enabled, we hide the pagination controls, if JavaScript is disabled, we hide the load-more button. To make the pagination look a little bit nicer, we also align the next page text on the right for some basic styling.
Thanks to Scott Boms for the progressive enhancement suggestions.
That was it. If you want to check if a second or third button trigger works as well, publish the draft that is still lurking in the photography page or add some new cool projects of your own.