Fields
What makes a field plugin?
Our Kirby panel is built with Vue and speaks to our REST API. Your field plugin needs to consist out of three parts:
- PHP code for the REST API:
index.php - Vue code for the panel:
index.js - Optional CSS:
index.css
PHP definition
Let's start with a PHP plugin file.
Kirby::plugin('yourname/hello', [
    'fields' => [
        'hello' => [
            // the field code goes here
        ]
    ]
]);
The array key hello sets the field type that can later be used in your blueprints.
Properties
Fields can have many options in your blueprint, such as a label, a default value, placeholders, etc. Those property values from the blueprint will be sent to the field via the REST API and the Vue component can work with them to display the field accordingly.
Properties are defined with the props array
Kirby::plugin('yourname/hello', [
    'fields' => [
        'hello' => [
            'props' => [
                'message' => function ($message) {
                    return $message;
                }
            ]
        ]
    ]
]);
A property is always a combination of a key (the property name) and a function (the property setter).
The property definition above instructs the REST API to process the value from the blueprint:
hello:
  type: hello
message: Hello worldhello: {
message: "Hello world"
}Required properties
'props' => [
    'message' => function ($message) {
        return $message;
    }
]
Optional properties
'props' => [
    'message' => function ($message = null) {
        return $message;
    }
]
Default values
'props' => [
    'message' => function ($message = 'The default message') {
        return $message;
    }
]
Type hinting
'props' => [
    'message' => function (string $message) {
        return $message;
    }
]
Translated values
'props' => [
    'message' => function ($message = null) {
        return I18n::translate($message);
    }
]
Modified properities
'props' => [
    'message' => function (string $message) {
        return 'Message: ' . $message;
    }
]
Computed values
If you need to pass additional values to the field, that are not defined by properties in the blueprint, you can use computed values.
Kirby::plugin('yourname/hello', [
    'fields' => [
        'hello' => [
            'props' => [
                'message' => function (string $message) {
                    return $message;
                },
                'username' => function (string $username) {
                    return $username;
                }
            ],
            'computed' => [
                'sentence' => function () {
                    return $this->username . ' said ' . $this->message;
                }
            ]
        ]
    ]
]);hello:
type: hello
message: Hello world
username: Peterhello: {
message: "Hello world",
username: "Peter",
sentence: "Peter said Hello world"
}Vue component
After finishing the PHP backend part of the field, we can now start developing the Vue component. Although our Vue plugin API is really easy to read, it makes sense to check out the Vue docs, if you have never worked with it.
First, we will need an additional index.js file for our javascript code:
panel.plugin('your/plugin', {
  fields: {
    hello: {
      // your field code goes here.
      // very similar to the backend!
    }
  }
});
Just a Vue component
Though we have added some wrapper code, the field object is just a normal Vue component definition. You can check out the Vue docs for all component options and use them all.
Field properties
Our Vue component needs to define all the properties it wants to work with as well. This is not only true for the properties but also for the computed values defined in the PHP field definition.
panel.plugin('your/plugin', {
  fields: {
    hello: {
      props: {
        message: String
      }
    }
  }
});
Template
The template options defines the HTML output of your field. UI kit components can help you to create your field.
panel.plugin("your/plugin", {
  fields: {
    hello: {
      props: {
        message: String
      },
      template: "<p>{{ message }}</p>"
    }
  }
});
CSS styles
If you need additional CSS for your field plugin, you can create an optional index.css. Kirby will automatically concatenate and load this in combination with the other plugins' CSS files.
Please make sure to check for our UI kit components and available styles before you implement your own CSS rules for something that already exists.
Your first field plugin: Hello world!
PHP definition
<?php

Kirby::plugin('your/plugin', [
    'fields' => [
        'hello' => [
            'props' => [
                'message' => function (string $message) {
                    return $message;
                }
            ]
        ]
    ]
]);
Vue component
panel.plugin("your/plugin", {
  fields: {
    hello: {
      props: {
        message: String
      },
      template: "<p>{{ message }}</p>"
    }
  }
});
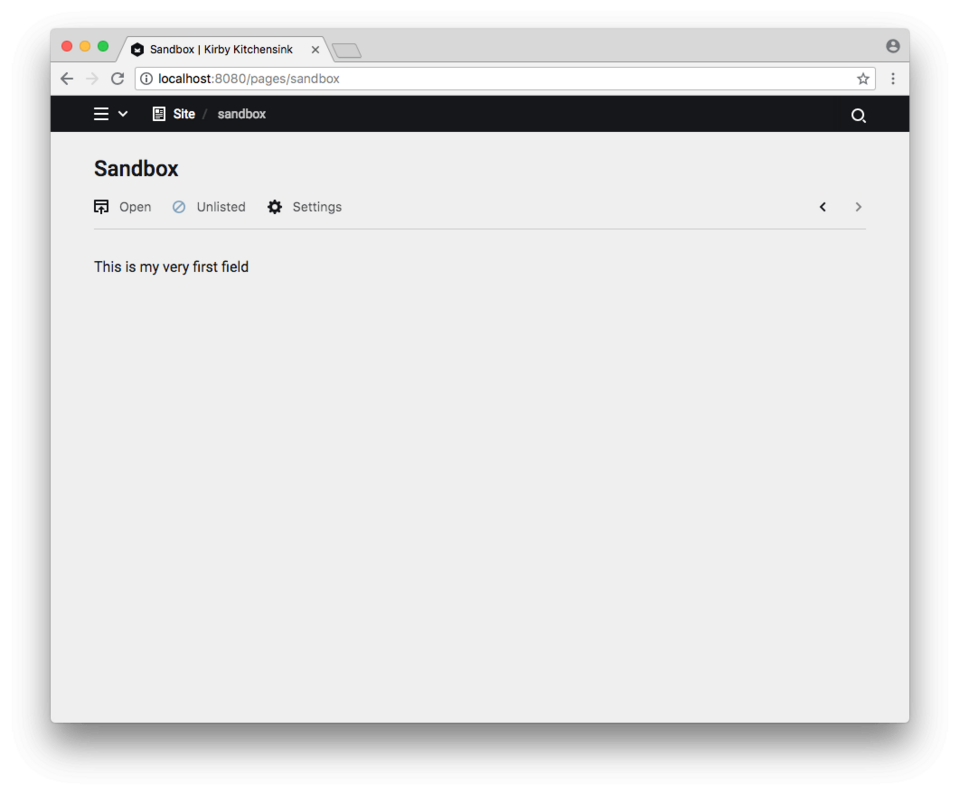
How to use this new field
fields:
  hello:
    type: hello
    message: This is my very first field
Result

Kirby Ui Kit
It's a good idea as a next step to check out our UI component library. All of our components can be used in your field plugin. You should always try that first before implementing your own interface elements.
Extending existing fields
Instead of creating a new field from scratch, you can reuse existing fields.
Extending the backend
<?php

Kirby::plugin('your/plugin', [
    'fields' => [
        'hello' => [
            'extends' => 'text'
        ]
    ]
]);
This custom field will inherit the entire backend code of the text field.
You can now start replacing parts of the field implementation or add your own props and methods.
<?php

Kirby::plugin('your/plugin', [
    'fields' => [
        'hello' => [
            'extends' => 'text',
            'props' => [
                'myNewProp' => function (string $myNewProp = null) {
                    return $myNewProp;
                }
            ]
        ]
    ]
]);
Extending the frontend
panel.plugin("your/plugin", {
  fields: {
    hello: {
      extends: "k-text-field"
    }
  }
});
For the frontend you have to specify, which Vue component should be extended. You can find all available field components in our UI Kit docs.
This is using Vue's native component extensions. You can now overwrite and add component logic.
panel.plugin("your/plugin", {
  fields: {
    hello: {
      extends: "k-text-field",
      methods: {
        myCustomMethod() {
          // do something here
        }
      }
    }
  }
});
More information
Check out the following cookbook recipe to learn more: